
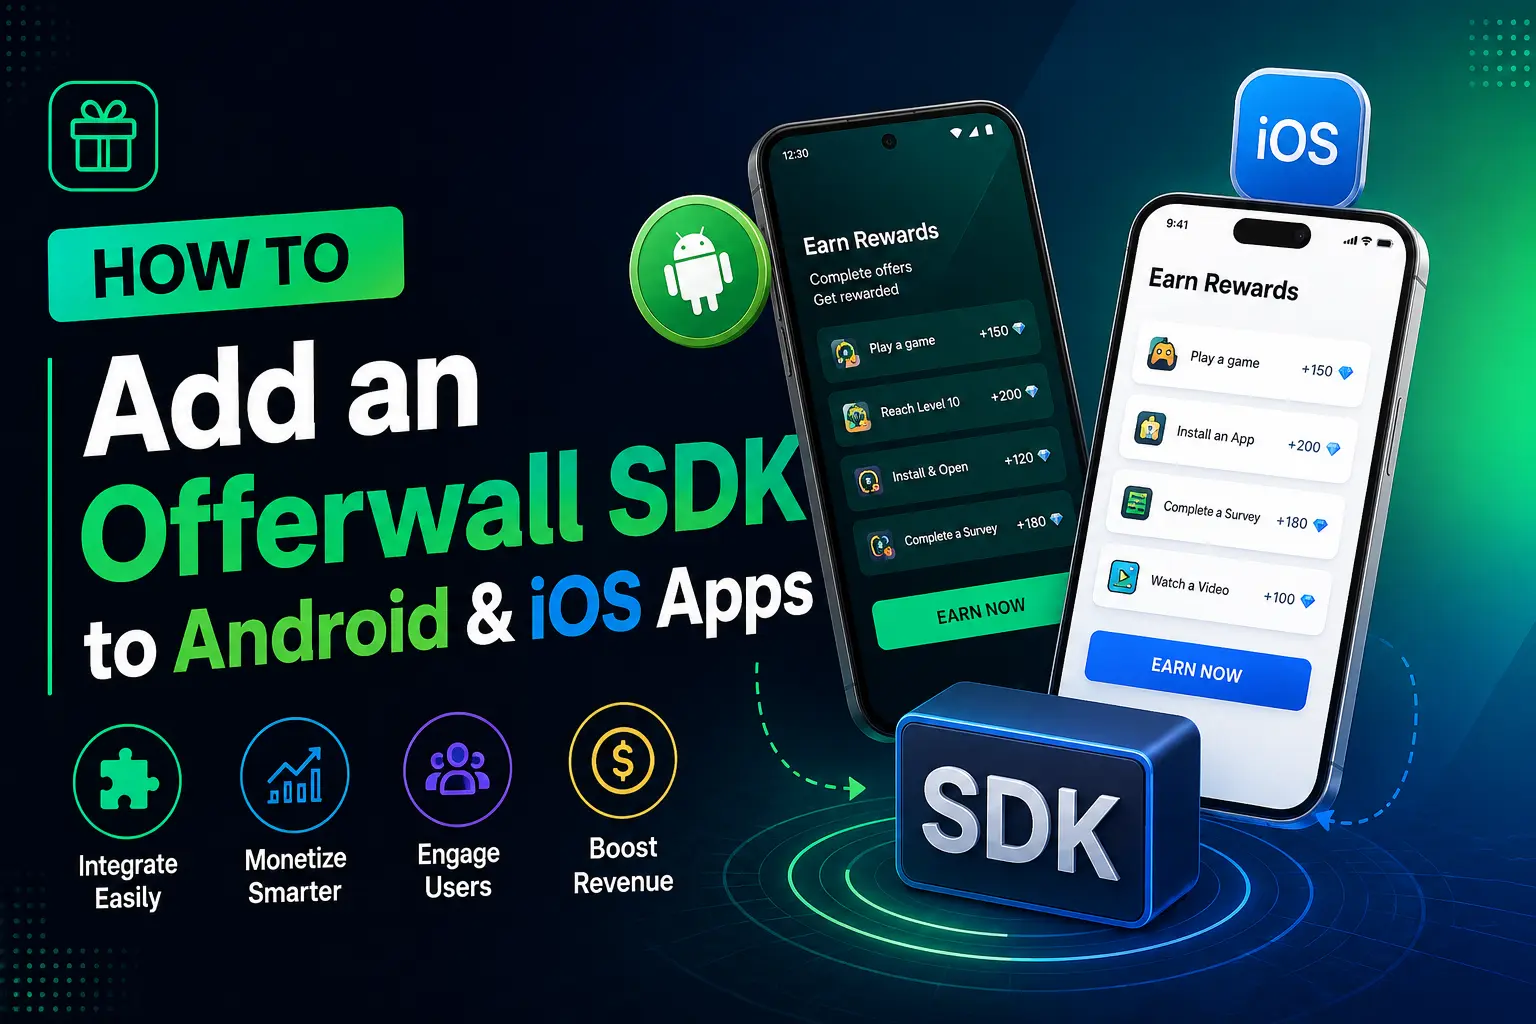
Adding an offerwall to a mobile application can turn optional user activity into a measurable monetization channel without forcing users to sit through ads. The challenge is not opening an offerwall screen; the difficult part is building a reliable integration around identity, rewards, security, lifecycle events, and server-side conversion tracking.
This guide explains how to integrate an offerwall SDK into Android and iOS apps, how to structure the integration so it survives app restarts and SDK updates, and how to credit rewards securely using server-to-server (S2S) postbacks rather than trusting the mobile client.
For the business and backend side of an offerwall platform, see [How to Create an Offerwall Website: A Builder's Guide].
Important: SDK class names, package names, initialization methods, and callback signatures vary by provider. The code below deliberately separates the integration pattern from vendor-specific APIs. Replace the placeholder SDK calls with the exact methods documented by your offerwall provider rather than copying fictional method names into production.
What Is an Offerwall SDK?
An offerwall is an in-app marketplace of sponsored activities. Depending on the provider and region, users might see opportunities such as surveys, app installs, trials, registrations, or sponsored gameplay. The user completes an eligible offer and receives an application-defined reward such as coins, points, credits, or virtual currency.
A typical architecture looks like this:
The mobile SDK is primarily responsible for presentation and user experience. Your backend should remain the authority for reward entitlement.
Why Use an SDK Instead of a WebView?
A basic WebView can be attractive because it is quick to deploy, but the trade-off is greater responsibility around navigation, authentication, deep links, cookies, JavaScript behavior, sizing, and lifecycle handling.
A native SDK can provide tighter integration with the host application, but it also introduces dependency management and compatibility requirements.
A practical rule is:
- Use the provider's native SDK when the provider officially supports your target platform and the SDK fits your app architecture.
- Use a WebView only when the provider explicitly recommends or supports it.
- Do not assume that a WebView is automatically more secure simply because it contains less native code.
- Keep reward validation on your backend regardless of the presentation method.
Before You Integrate: Define the Data Flow
Before opening Android Studio or Xcode, decide what your system considers a user.
You normally need a stable internal identifier such as:
The same identity should be passed to the offerwall provider and returned in the provider's conversion notification.
A useful model is:
Do not create a new random user ID every time the app starts. Doing so can fragment attribution and make completed offers difficult to reconcile.
Your backend should also own the authoritative reward balance:
The external_transaction_id should normally have a uniqueness constraint. That single database decision can prevent the same conversion from being credited twice.
Android Integration
1. Add the SDK Dependency
Modern Android projects commonly manage dependencies through Gradle, and Android's documentation recommends explicit dependency versions rather than dynamic versions such as 1.+. Version catalogs are also recommended for dependency management in newer projects.
For a provider that distributes an Android library from a Maven repository, the structure will look similar to this:
Then reference it from the application module:
The exact Maven coordinates must come from your provider's current Android documentation. Do not copy a package name from an unrelated tutorial.
Why pin the SDK version?
A production app should not silently receive a completely different SDK build during a normal dependency resolution. Explicit versions make builds reproducible and make SDK upgrades intentional.
After adding the dependency:
Do not move directly from dependency installation to production release.
2. Initialize the SDK Once
A common integration mistake is initializing an SDK from a single Activity:
This can create lifecycle problems because Activities can be destroyed and recreated.
A cleaner pattern is to keep application-wide initialization in your Application class when the provider recommends early initialization:
Register the application class:
The important part is architectural, not the placeholder method name: initialize the SDK at an appropriate application lifecycle point and avoid creating duplicate SDK instances.
3. Configure the User Identity
Once the SDK is initialized, associate it with your application's stable user identifier.
For example:
Call this after your application has established the authenticated user session.
Avoid this pattern:
A new identifier generated at every launch can break attribution.
A better lifecycle is:
4. Open the Offerwall from a User Action
Opening the offerwall should normally be tied to an explicit user interaction:
The exact API depends on your provider.
The important production behavior is the readiness check. Your app should not crash or show a blank screen because the network is unavailable or the SDK failed to initialize.
A robust UI state can be:
iOS Integration with Swift
1. Add the SDK with Swift Package Manager
Xcode has built-in support for Swift Package Manager. To add a package, use File — Add Package Dependency and specify the repository provided by the SDK vendor. Apple also recommends selecting trustworthy package sources and choosing an appropriate version requirement.
Conceptually:
For teams, commit the resolved dependency information so builds remain reproducible. Apple documents the role of Package.resolved in dependency resolution.
2. Create a Small Offerwall Service
Rather than scattering vendor-specific SDK calls throughout your view controllers, isolate the provider integration behind one service.
This wrapper has a practical advantage: if your provider changes its API later, most of your application does not need to change.
3. Present the Offerwall
A view controller can now remain simple:
Initialize the service after the authenticated user is known:
This is safer than making a view controller responsible for authentication, SDK configuration, and reward processing simultaneously.
API Keys, Secrets, and Configuration
One of the most important corrections to simplistic SDK tutorials is the distinction between a public application identifier and a server secret.
Anything embedded in an Android APK or iOS application should be treated as potentially discoverable by a determined attacker.
Therefore:
Your server secret should remain on your backend:
Do not put a provider's postback secret in:
A client-side value is not a reliable location for a credential that must remain secret.
The Critical Part: S2S Postbacks
The mobile callback is not the right place to decide whether a user deserves currency.
A vulnerable flow looks like this:
If an attacker can manipulate the client or reproduce a callback, your economy can be abused.
A stronger design is:
Why Are S2S Postbacks Safer Than Client-Side Callbacks?
Because the final reward decision is made outside the user's device.
A client-side callback is executed in an environment controlled by the end user. A server-to-server callback instead travels directly from the provider to infrastructure that you control.
That does not make S2S automatically secure. Your endpoint still needs authentication, signature validation, replay protection, idempotency, input validation, and careful database transactions.
But it moves the most important trust boundary away from the client.
Example S2S Endpoint
The following example shows the architecture using Node.js and TypeScript. It is intentionally provider-neutral because every offerwall vendor defines its own postback parameters and signing algorithm.
Your actual provider may use HMAC-SHA256, SHA256 parameters, asymmetric signatures, a token, or another mechanism. Always implement the verification algorithm exactly as specified by the provider.
Make Reward Processing Idempotent
A webhook can be retried.
Your endpoint might receive:
once, twice, or several times.
Without idempotency:
The user receives 1,500 coins for one conversion.
Instead, create a unique transaction record before applying the credit:
In a production system, the database constraint should enforce uniqueness rather than relying only on application logic.
Handle Reversals and Chargebacks
Another common mistake is assuming that every conversion is permanent.
Depending on the provider, an offer can later be reversed because of a cancellation, invalid traffic, duplicate action, refund, or another condition.
Your wallet should therefore support both:
Instead of overwriting a user's balance without a trace, keep a ledger:
This makes support tickets, audits, fraud investigations, and financial reconciliation much easier.
Android Troubleshooting
SDK dependency cannot be resolved
Check:
Do not solve dependency failures by replacing the SDK version with a random older release.
Android's dependency documentation also recommends dependency verification when appropriate and warns against dynamic versions.
The app crashes when opening the offerwall
Check whether:
Also test both:
An SDK that works after navigating through three screens may still fail when the app is launched from a deep link.
The offerwall opens but the user is not recognized
Verify that the same stable identifier is used by:
Log the identifier on your backend during development, but do not expose sensitive credentials in production logs.
iOS Troubleshooting
Swift Package Manager fails to resolve the SDK
Check the package URL and version requirement first.
Apple recommends adding dependencies from trustworthy authors, and Xcode supports version-based requirements so dependency updates can be controlled more predictably.
If the package contains a binary framework, verify its source and integrity. Apple documents how Xcode exposes binary dependencies and their checksums.
The SDK works on a device but not in the simulator
Some SDKs depend on:
Always check the vendor's supported architectures and simulator requirements before assuming the problem is in your Swift code.
The offerwall appears, but rewards never arrive
This is often not an iOS UI problem.
Trace the complete chain:
If the first five steps are successful but the balance is unchanged, inspect the database transaction and reward ledger.
Testing Checklist Before Production
Run the integration through at least these scenarios:
The objective is not merely to prove that the offerwall opens. The objective is to prove that the complete conversion-to-reward pipeline behaves correctly under failure.
App Store and Play Store Compliance
An offerwall changes the monetization and user experience of an app, so store compliance needs to be treated as part of the implementation rather than an afterthought.
For iOS, Apple's current App Review Guidelines cover business models, external purchase flows, advertising-related behavior, and other requirements that can affect monetized apps. Review the latest version before submission rather than relying on an old SDK tutorial.
Apple also provides official documentation for its In-App Purchase and StoreKit systems, including the different mechanisms used to offer and manage digital purchases.
The correct implementation depends on what your offerwall actually sells, what the user receives, where the app is distributed, and which storefront rules apply. Do not assume that an offerwall is automatically exempt from platform commerce policies simply because the reward is described as "virtual currency."
For Android, review the SDK's required permissions, data collection behavior, target SDK compatibility, and Google Play requirements before shipping.
Improving the User Experience
Technical correctness is only half of the integration.
A well-designed offerwall should explain:
For example, a button labeled:
Earn Coins
is clearer than:
Open SDK
The user should also understand that each offer has its own eligibility requirements.
Avoid presenting the offerwall as though every task is guaranteed to reward instantly.
Observability: Measure the Full Funnel
Once the SDK works, measure the entire journey rather than only SDK open events.
Useful events include:
For example:
This allows you to distinguish:
from:
Those are completely different problems.
A Production-Ready Architecture
The cleanest long-term architecture separates three responsibilities:
Mobile application
Responsible for:
Offerwall provider
Responsible for:
Your backend
Responsible for:
The most important principle is simple:
The mobile application can request a reward experience, but it should not decide that a reward has been earned.
Frequently Asked Questions
Why are S2S postbacks safer than client-side callbacks?
Because the reward decision is made on your server after receiving a provider notification, rather than trusting an event generated inside the user's device. The backend can validate signatures, reject replayed transactions, enforce idempotency, and commit the reward through a database transaction.
Should I put my offerwall secret key inside the Android or iOS app?
No. A server secret should remain on infrastructure you control. Only credentials explicitly documented by the provider as safe for client-side use should be included in a mobile application.
Should I initialize the SDK inside an Activity or ViewController?
Prefer an application-level or dedicated service architecture when supported by the SDK. The goal is to prevent initialization from being tied to one temporary screen and to avoid duplicate configuration.
Can I use a WebView instead of an SDK?
Sometimes, but only when the provider supports it. A WebView can simplify deployment but may introduce additional navigation, authentication, cookie, JavaScript, and lifecycle concerns.
Why should I use the user's internal database ID?
Because attribution must remain stable across sessions and devices according to your account model. A stable identity also allows your S2S endpoint to connect a provider conversion to the correct application account.
How do I prevent duplicate rewards?
Store the provider's transaction identifier and enforce a unique database constraint on it. Treat repeated postbacks as safe retries rather than new financial events.
What should happen when an offer is reversed?
Create a compensating ledger transaction rather than silently editing historical data. This preserves an auditable history of credits and reversals.
What if the SDK updates and breaks my build?
Pin and control dependency versions, test SDK upgrades separately, and avoid unbounded version ranges. Android and Apple's dependency management documentation both provide mechanisms for predictable dependency resolution.
Final Takeaway
Integrating an offerwall into Android or iOS is more than adding a dependency and calling show().
A production-quality implementation needs:
Once those pieces are in place, the SDK becomes what it should be: the interface between the user and the offer provider, not the authority that controls your application's economy.
The strongest integration is therefore not the one with the shortest code. It is the one that still behaves correctly when the network fails, a callback is repeated, an offer is reversed, a user changes devices, or an attacker tries to manipulate the client.
Recommended Official References


Comments (0)
No comments yet. Be the first to share your thoughts!